Tutorial II - Intermediate (using three stacks)
Tutorial II - Intermediate (using three stacked images)
Task: Identify the image files involved where a moving object passes close to ANY field star so those images can be rejected in further processing
Materials required:
- A set of individual images of a moving object, used to generate the following three stacks:
Stack A - a stack of some or all of the available images, combined using the object's motion that allow the object to be seen (even though it may be partially obscured by star trails)
Stack B - a stack of the first and last image only, combined using the object's motion, to accurately determine the full extent of the object's motion.
Stack C - a stack of at least the first three, preferably the first 10+ images, stacked with ZERO motion, to reveal the fainter field stars and galaxies.
Note: This tutorial gives instructions using Astrometrica to blink these three stacks. If using other software, equivalent functionality will be required.
Steps:
- Create Stack A
- Create Stack B
- Create Stack C
- Blink stacks A, B and C
- Draw Ruler the length of the star trails
- Position the start of Ruler over object
- Show object path against star background
- Use mouse to locate images to be rejected
- Result - Stack only the selected images
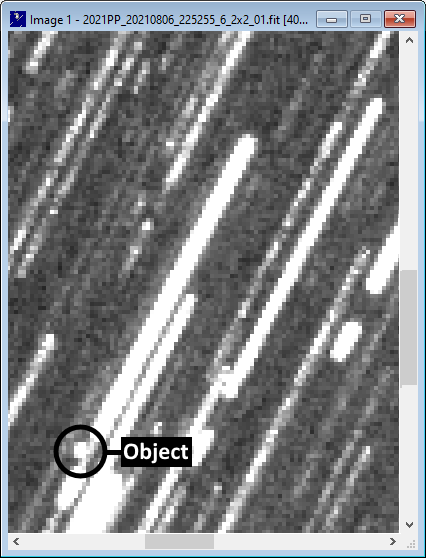
Track & stack a set of images using the object's motion with a program such as Astrometrica. The target object needs to be visible, but not all the images need to be used. Here the result from Tutorial I is used, images 1-39 and 45-48 of fast moving minor planet 2021 PP are stacked together. The minor planet is visible with a faint trail of a star close by:
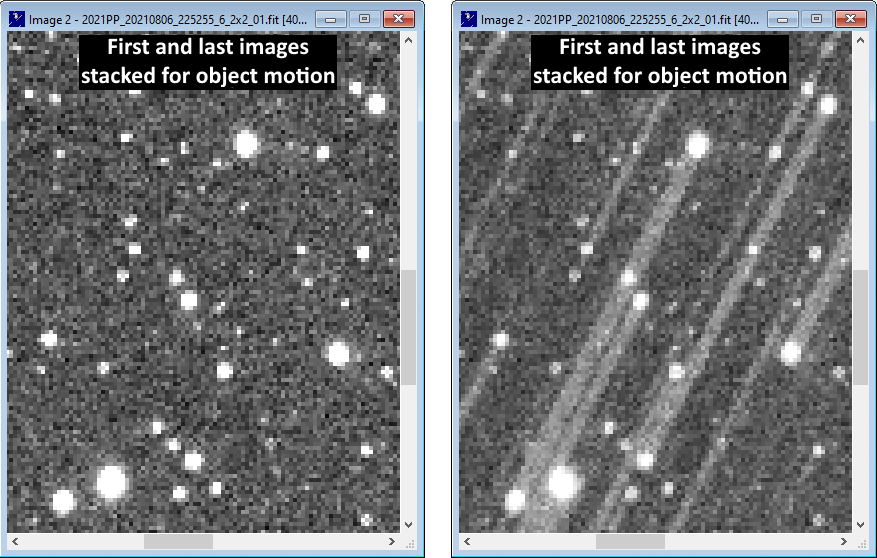
Track & stack the first and last images, again using the object's motion. This will be used to accurately determine the start and end points of one of the star trails.
Here Stack B is displayed on the left. On the right the star trails from a stack of all images has been superimposed to highlight which of the star images relate to the first and last image of the same star.
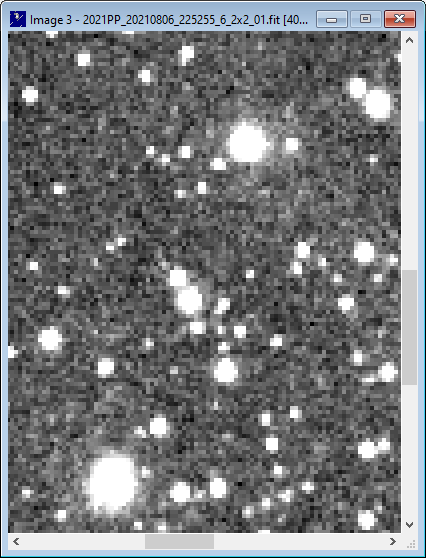
Stack a number of images with ZERO motion to reveal fainter field stars and galaxies. Images 1-10 have been stacked here with zero motion:
Step 4. Blink stacks A, B and C
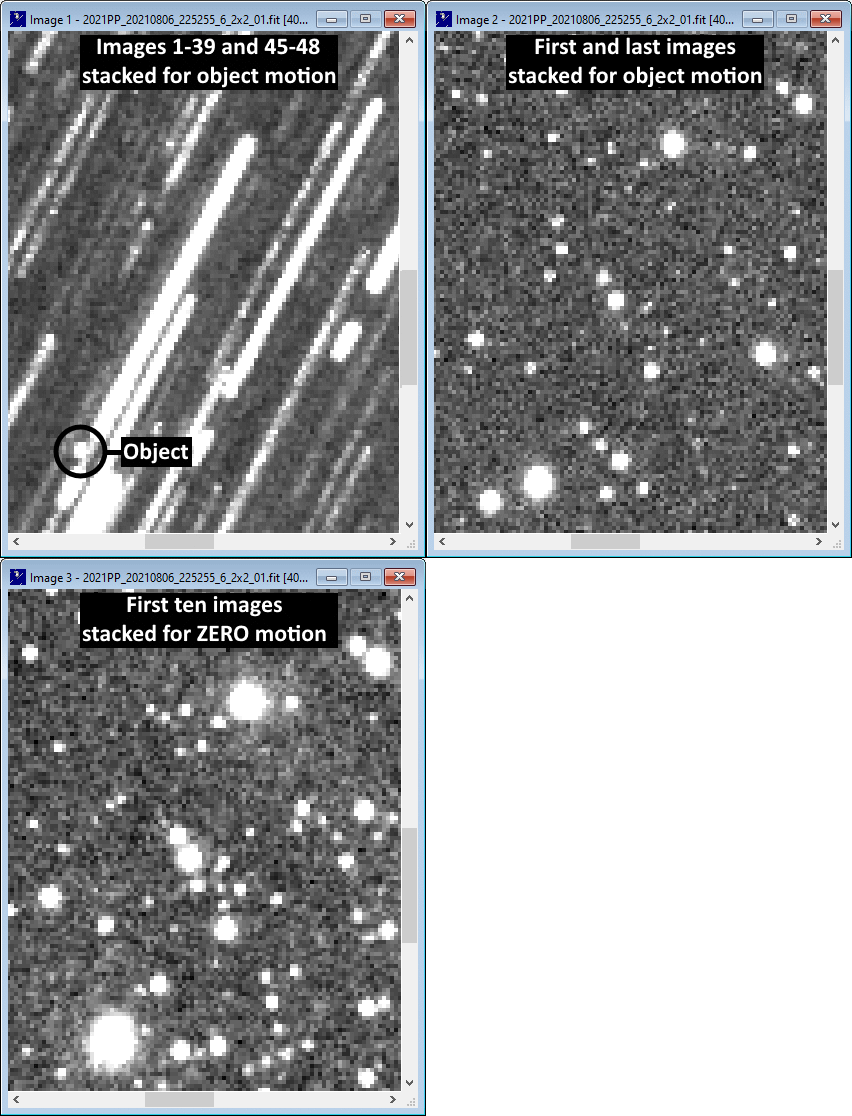
Take the option to Blink current images (in Astrometrica press Ctrl+B). Magnify and resize the Astrometrica blink window so that the object is visible and the window is large enough to also show at least one complete star trail
Here stacks A, B and C are being blinked and the window has been resized so that the object is visible towards the bottom left and there are also some complete star trails visible:
Step 5. Draw Ruler the length of the star trails
In Astrometrica press Ctrl+F10 (Step forward) and Shift+Ctrl+F10 (Step backward) to review the stars available and identify a suitable relatively faint star (so the images of the star are small and easily centred) where both images of the star are visible in stack B of the first and last exposures. Then step forward until Stack B is displayed (the stack of the first and last images only). Move and resize the Screen Ruler window so that it completely covers the start and end of a star trail.
Drag a line in the direction of the minor planet's motion from the start to the end image of the selected star. Note, this is the opposite direction to the instructions in Tutorial I, where the apparent motion of the star was being measured. Here the apparent motion of the minor planet is being measured.

Step 6. Position the start of Ruler over object
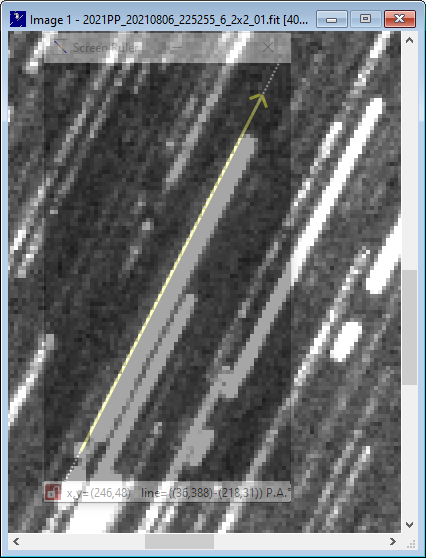
In Astrometrica press Ctrl+F10 (Step forward) until Stack A is displayed (the stack showing the object with trailed stars).
Drag the entire Screen Ruler window (by clicking on the Screen Ruler window title bar, holding the left mouse button and dragging the mouse) to position the start of the ruler line in the centre of the object:
Step 7. Show object path against star background
Without moving the Screen Ruler window, in Astrometrica press Ctrl+F10 (Step forward) until Stack C is displayed (the ZERO motion stack).
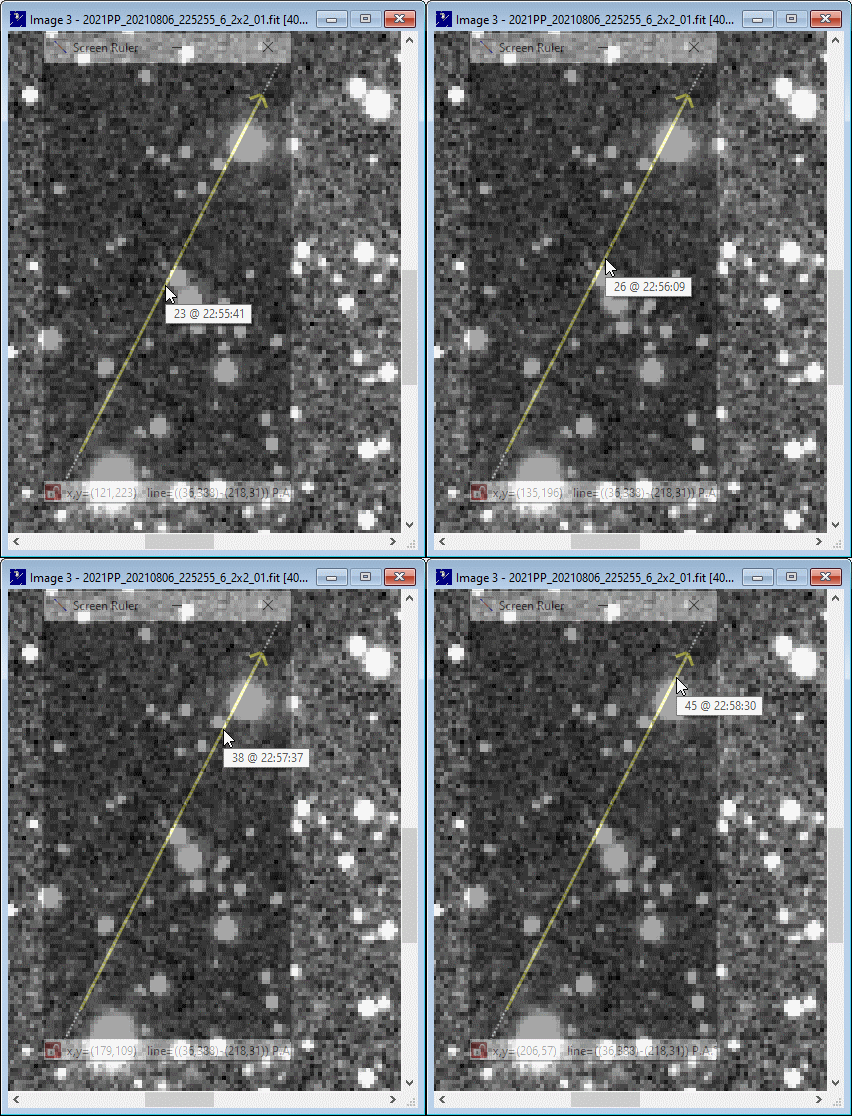
The ruler line now accurately indicates the track of the minor planet from the first to the last available image.

Step 8. Use mouse to locate images to be rejected
It is now apparent that the object passed a star near the middle of the set of images and came close to a fainter star just before becoming involved in the glow of the bright star at top left (which was the only star identified in Tutorial I).
Moving the mouse along the ruler now indicates that images 23-26 and 38-45 should be left out of the stacks:
Step 9. Result - Stack only the selected images
The final result, stacking images 1-22, 27-37 and 46-48 shows the object without any star trails crossing it. Compare with the Tutorial I result:
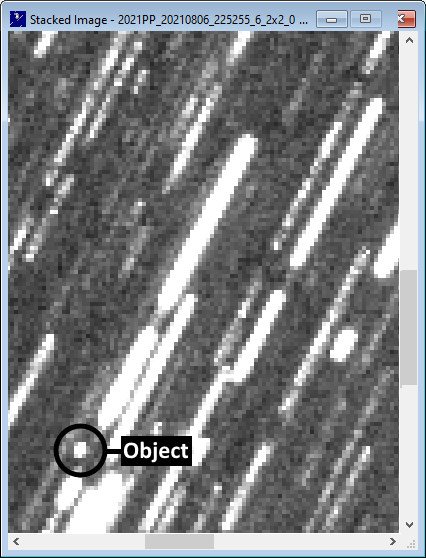

Tutorial II result Tutorial I result
Tutorial III - Advanced (using three stacked images and FITs file information) extends the Tutorial II method by displaying on the Ruler the start and end of exposure for each file used, extracted directly from the FITS files.
Created with the Personal Edition of HelpNDoc: Free HTML Help documentation generator